 Client Profile
Choose to Love, Inc. Website Launch
I am proud to help announce the launch of a brand new website and non-profit, Choose To Love, Inc. Their mission is to ensure that children of low-income and marginalized communities have a fair chance at achieving their full health and wellness potential.
Have you ever heard the term “social determinants of health?” In a nutshell, it describes all of the things outside of the doctor’s office that play a role in your well being. Everything from school to home cleanliness to regular nutrition. For low-income kids, a lot of times these factors pit them in an uphill battle towards healthy living.
Choose To Love, Inc. aims to change all that. Through community generosity, they will be able to schedule home visits and determine the best course of action for each case. If a child suffers from asthma everything from a new vacuum cleaner to smoking cessation programs could be offered.
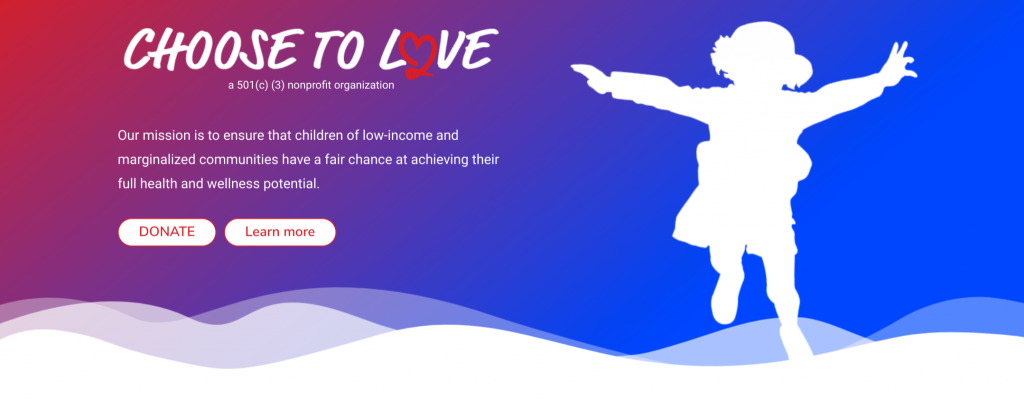
It’s a wonderful cause and a message I was proud to help bring to the world through their new logo and website, ChooseToLoveHealth.org. Take a look, learn more about their flagship program, and help spread the word!